
How to Dry Wet Walls the Right Way
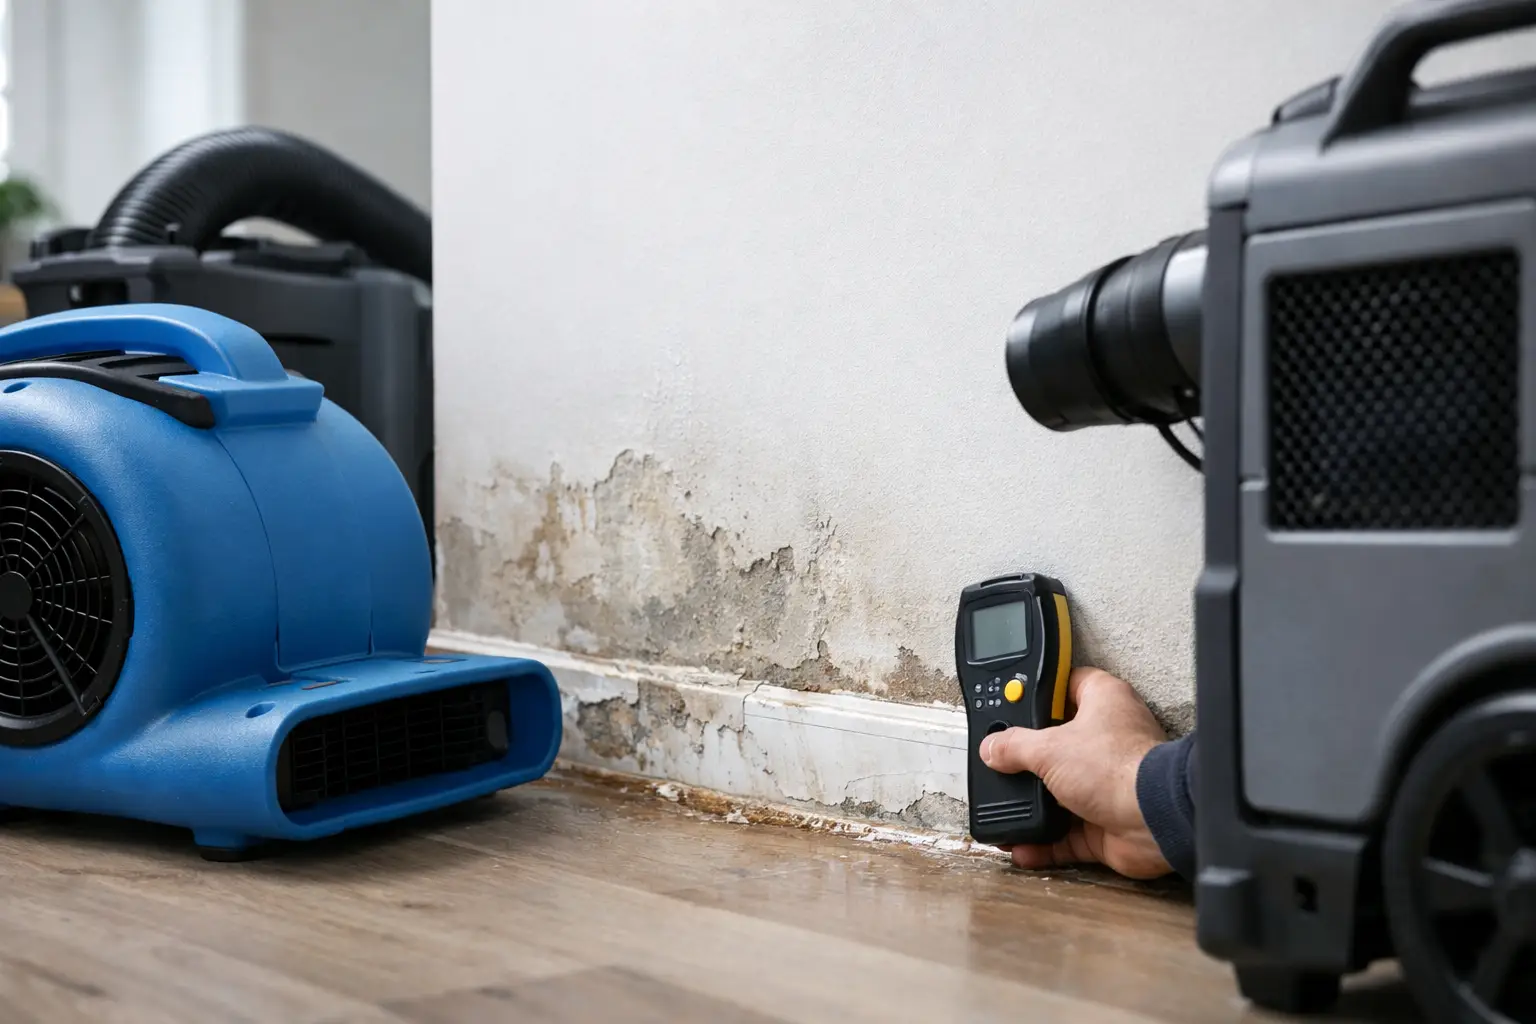
A wet wall can look harmless for a few hours, then turn into peeling paint, warped drywall, and mold behind the surface before you realize how far the moisture traveled. If you are trying to figure out how to dry wet walls, speed matters - but so does doing it in the right order.
The biggest mistake property owners make is treating the visible damp spot and missing the moisture hidden inside the wall cavity, insulation, baseboards, or flooring below it. Whether the cause was a roof leak, broken pipe, appliance overflow, or storm-related flooding, the goal is not just to make the wall feel dry. The goal is to stop further damage and restore a safe, stable structure.
How to dry wet walls after water damage
Start by identifying and stopping the source of the water. If the wall is still getting wet from an active leak, no amount of fans or towels will solve the problem. Shut off the water if needed, protect the area from additional intrusion, and move furniture or belongings away from the affected section.
Next, think about safety before cleanup. If water reached outlets, switches, appliances, or your breaker panel, do not touch the area until power is safely shut off. If the water came from sewage backup or outside flooding, the situation is not a simple drying job. Contaminated water changes everything and usually calls for professional mitigation, protective equipment, and removal of affected materials.
Once the area is safe, remove standing water and surface moisture as quickly as possible. Wet vacuums, mops, and absorbent towels can help with the surface, but they only address what you can see. Drying the wall itself takes airflow, dehumidification, and in some cases selective demolition.
What kind of wall got wet matters
Not all wet walls respond the same way. Drywall, plaster, wood paneling, and masonry all hold moisture differently, and the water source also affects what can be saved.
Drywall is the most common issue in homes and commercial spaces. It absorbs water quickly and can lose structural strength fast, especially if the water sat for more than a day. If the drywall feels soft, swollen, crumbly, or stained across a large area, replacement may be more realistic than drying in place.
Plaster can sometimes tolerate limited moisture better than drywall, but it dries slowly and may trap water behind the surface. Masonry walls do not deteriorate the same way, but they can hold moisture for a long time and transfer it into finishes, trim, or nearby materials.
Insulation inside the wall is another deciding factor. Fiberglass can sometimes dry under controlled conditions, but cellulose insulation usually holds moisture and often needs to be removed. If insulation stays wet, the wall may look fine on the outside while mold develops behind it.
The drying process step by step
If the wall has only minor clean-water exposure and you caught it early, you may be able to dry it successfully with a focused response. Open windows only if outdoor humidity is lower than indoor humidity. In El Paso, that can sometimes work in your favor, but not always. Dry air helps. Humid or rainy conditions do not.
Use fans to move air across the wall, not just at the center of the stain. Good airflow matters more than brute force. Position fans so moisture is pushed away from the wet surface and toward a space where it can be removed.
Add a dehumidifier as soon as possible. This is what actually pulls moisture out of the air so the wall can continue releasing trapped water. Without dehumidification, fans alone can just move damp air around the room.
Remove baseboards if they were affected. Water often settles low, and baseboards can trap moisture where the wall meets the floor. In some cases, restoration professionals drill small access holes near the base of the wall or remove a section of drywall to help the cavity dry from the inside. That may sound aggressive, but controlled opening is often better than letting hidden moisture remain.
If carpeting, underlayment, or wood flooring near the wall is also wet, dry those materials at the same time. Moisture migrates. Drying only the wall while the floor remains saturated usually delays the problem instead of solving it.
Signs the wall may need to be opened or removed
Sometimes drying a wet wall in place is not the safest or most effective option. That is especially true after significant leaks, flooding, or long periods of unnoticed water intrusion.
Watch for soft drywall, bulging seams, peeling paint, warped trim, musty odor, visible microbial growth, or staining that keeps spreading. These are signs moisture may be deeper than the surface. If the wall has been wet for 24 to 48 hours or more, the risk of mold increases quickly.
Another red flag is when the affected area feels dry outside but still reads wet with a moisture meter. Restoration teams use specialized equipment because touch alone is not reliable. Walls often dry unevenly, and hidden pockets of moisture can remain long after the obvious dampness is gone.
What not to do when drying wet walls
It is understandable to want a fast fix, but a few common shortcuts can make the damage worse. Do not paint over water stains to hide them before the wall is dry. Paint can trap moisture and delay proper repair.
Do not use high heat as your main drying method. Space heaters and high temperatures can cause some materials to warp, crack, or dry unevenly. Controlled airflow and dehumidification are more effective.
Do not assume a small stain means a small problem. Water travels along framing, insulation, and gravity paths. The visible mark may be only one part of the affected area.
And do not wait too long to get help if the source was dirty water, the damage covers a large section of wall, or the odor is getting stronger. Delays can turn a restoration job into a much larger reconstruction project.
When to call a professional drying team
There is a difference between a damp bathroom wall from condensation and a wall soaked by a supply line break or storm intrusion. If the water came suddenly, spread across multiple rooms, affected insulation, involved electrical concerns, or sat for more than a day, professional mitigation is usually the safer move.
A trained restoration team can inspect the full moisture path, not just the visible damage. That includes moisture mapping, meter readings, thermal imaging when appropriate, and a drying plan based on the wall type and contamination level. In many cases, that approach prevents unnecessary demolition while still addressing what cannot be saved.
For property managers and business owners, the value is also operational. Faster and more accurate drying can reduce downtime, support insurance documentation, and help avoid recurring odor or mold complaints after tenants or staff return to the space.
For homeowners, professional support often reduces guesswork during a stressful situation. A family-owned company like GEM Disaster Recovery Corp understands that people are not just worried about drywall. They are worried about their home, their routine, and whether the damage will come back later.
How long does it take to dry wet walls?
It depends on the material, how much water entered the wall, the indoor humidity, and whether insulation is involved. Minor surface moisture may dry in a day or two. A wall cavity with wet insulation can take several days or longer, especially if materials need to be opened for airflow.
This is one of those situations where patience and urgency both matter. You need to act fast at the start, but you also need to let the drying process finish fully before closing the wall, repainting, or reinstalling trim. Rushing the cosmetic repair is one of the main reasons water damage reappears.
A smart approach after the wall is dry
Once moisture readings confirm the wall is dry, the next step is making sure the cause of the damage has truly been fixed. If the source was a plumbing leak, roof issue, window failure, or drainage problem, that repair has to hold. Otherwise, the wall will be wet again before long.
After that, restore the area completely. That may mean replacing drywall, reinstalling baseboards, sealing stains properly, repainting, or rebuilding affected sections. Drying is only part of recovery. The real goal is getting your property back to a clean, stable condition without leaving hidden problems behind.
When a wall gets wet, the clock starts right away. A calm, informed response can save materials, reduce disruption, and protect the people who live or work in the space. If you are ever unsure, it is better to ask questions early than to reopen a wall later and find the damage kept spreading in silence.