
How to Document Storm Damage for Your Claim
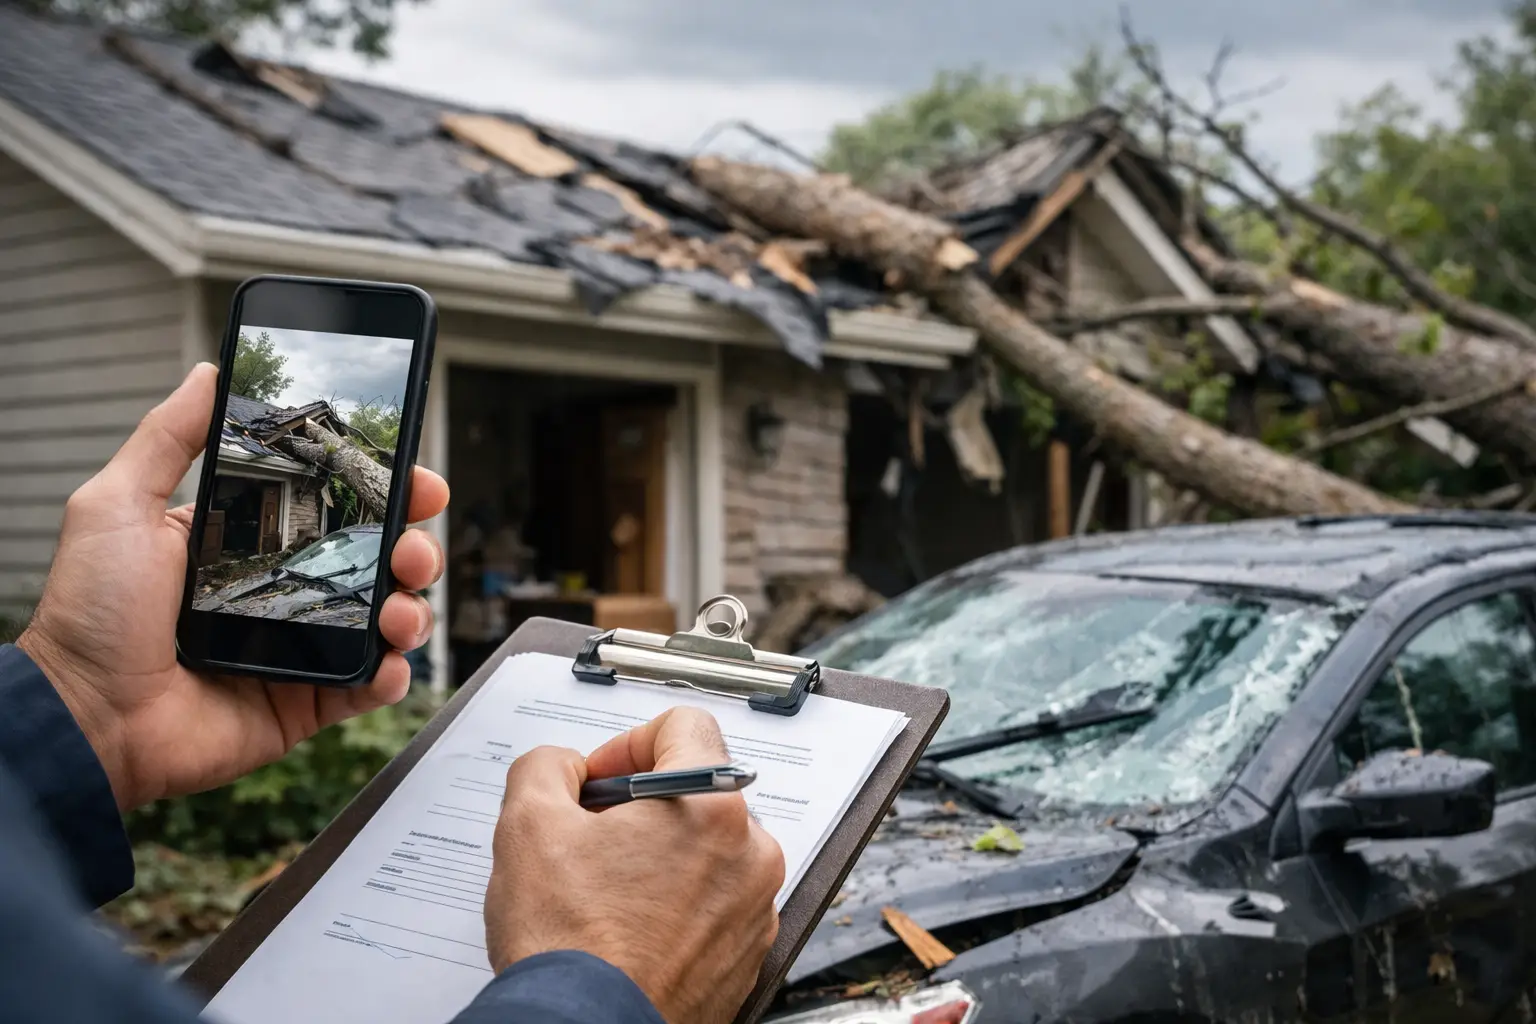
A storm can leave damage that is easy to see, such as broken windows or a missing section of roof, and damage that develops quietly, such as water behind walls. Knowing how to document storm damage before cleanup begins gives your insurance claim a clearer foundation and helps restoration professionals understand what happened to your property.
For homeowners, property managers, and business owners in El Paso, the first priority is always safety. Once everyone is safe and the immediate danger has passed, start creating a record of the damage. You do not need professional equipment or insurance expertise. A phone, a notepad, and a careful approach can make a meaningful difference.
Start With Safety and Emergency Stabilization
Do not enter a building that appears unsafe. Downed power lines, standing water near electrical outlets, a sagging ceiling, gas odors, broken glass, and unstable roofing all require caution. If there is an active hazard, contact emergency services or a qualified restoration team before trying to inspect the area yourself.
Take reasonable steps to prevent additional damage once it is safe to do so. That may mean moving dry belongings away from a leak, placing a container under dripping water, or arranging emergency board-up after a window breaks. Insurers generally expect property owners to mitigate further loss, but do not make permanent repairs or throw away damaged materials before documenting them unless they create a health or safety risk.
Keep receipts for every emergency expense, including tarps, fans, temporary lodging, boarding materials, and professional mitigation. These costs may be relevant to your claim.
How to Document Storm Damage Step by Step
Think of your documentation as a visual and written timeline. It should show the overall condition of the property, the specific damage, the belongings affected, and the actions you took after the storm.
Take wide photos before close-ups
Begin outside, if conditions allow. Photograph every side of the home or commercial building from a distance. Capture the roofline, exterior walls, windows, doors, fences, vehicles, sheds, signs, and landscaping. Wide images establish where the damage is located and help show the condition of the property as a whole.
Then move closer. Take detailed photos of missing shingles, lifted flashing, dents from hail, cracked siding, broken panes, torn screens, water entry points, fallen branches, and debris impact. If possible, include a familiar object for scale, such as a measuring tape near a crack or a ruler beside a hail dent.
Inside, photograph each affected room from multiple angles before moving items. Capture floors, walls, ceilings, cabinets, baseboards, furniture, rugs, appliances, electronics, and personal belongings. Water damage can spread beyond the visible wet spot, so document staining, bubbling paint, warped materials, and damp contents even if the source of water is no longer active.
Avoid climbing onto a wet or damaged roof to get photos. Pictures from the ground are useful, and a trained professional can safely inspect areas that are not accessible.
Record video to show the full story
A slow video walkthrough can provide context that individual photographs may miss. Start outside by stating the date, time, and property address. Walk around the structure and describe what you see in plain language, such as, “Water is entering at the living room window,” or, “This section of the ceiling is sagging after the storm.”
Inside, move room by room. Keep the camera steady, open damaged cabinets if safe, and show the path water appears to have taken. Video is especially helpful for active leaks, pooling water, wind-driven rain intrusion, or widespread damage across a commercial space.
Do not rely on video alone. Still images are easier to label, attach to a claim, and compare with estimates, so use both.
Make a written damage log
Photos prove what you saw. A written log adds the details that a photo cannot explain. Create a simple note on your phone or use a notebook. For each damaged area, record the date you discovered it, the room or location, what was damaged, and what you observed.
For example: “August 13, 2026, 7:30 a.m. - Water dripping from ceiling near the rear office window. Ceiling tile is saturated. Carpet is wet approximately six feet from the wall. Two computer monitors were on the affected desk.”
Add the weather event details you know, including the approximate time of hail, high winds, heavy rain, or flooding. Save weather alerts, local emergency notices, and any messages from tenants, employees, or neighbors that report when damage was first noticed.
Build an Inventory of Damaged Belongings
Storm claims often include more than structural repairs. Furniture, clothing, inventory, tools, electronics, documents, and equipment may also be affected by water, impact, smoke from a nearby fire, or debris.
Create an inventory for each item. Include the item description, brand or model if available, age, estimated purchase price, and current condition. Photograph the item from more than one angle, including serial numbers or labels when possible. For business owners, document damaged stock and equipment before disposal, and keep records that support the item’s value.
If an item is beyond saving, do not discard it until your insurer has advised you to do so or it has been documented thoroughly. When materials must be removed quickly because of contamination, mold risk, or safety concerns, take extensive photos first and keep a list of what was removed.
Save Every Document in One Place
Storm recovery produces paperwork quickly. Keeping it organized prevents missed details and repeated phone calls later. Create one digital folder for photos, videos, receipts, estimates, invoices, claim correspondence, and your damage log. Back it up to cloud storage or email copies to yourself so the record is available even if your phone is lost or damaged.
Use clear file names. “Kitchen ceiling water damage August 13” is much more useful than “IMG_4821.” If your property has several affected areas, organize files by room, building, or date.
Write down every insurance conversation. Include the representative’s name, date and time of the call, claim number, and a brief note about what was discussed. If an adjuster visits the property, ask what documentation they need next and keep copies of anything you provide.
Report the Claim Promptly, Then Protect the Evidence
Contact your insurance carrier as soon as practical after the storm. Provide a clear description of the event and the visible damage, but avoid guessing about causes or the full cost before the property is inspected. Hidden moisture, damaged insulation, roof underlayment failure, and electrical concerns may not be apparent during the first walkthrough.
Your insurer may send an adjuster, while a restoration contractor can document conditions, perform emergency mitigation, and create a repair scope. These roles are different, but good documentation helps both parties evaluate the loss accurately.
Before repairs begin, make sure you have photos of the affected area and retain samples or damaged components when appropriate. At the same time, do not delay necessary drying or stabilization. Water left in a structure can lead to more extensive material damage and mold growth. The right balance is to document first, then take prompt, reasonable action to protect the property.
Common Documentation Mistakes to Avoid
The most common mistake is waiting too long. Rainwater can dry, stains can change, and damaged items may be moved before anyone creates a record. Take initial photos as soon as the area is safe, even if you plan to take more detailed images later.
Another mistake is photographing only the obvious problem. A broken window matters, but so do the wet flooring, damaged wall finish, and contents exposed beneath it. Document the cause, the path of damage, and the property affected by it.
Finally, do not rely solely on memory. Storm recovery is stressful, particularly when you are coordinating family, tenants, employees, or customers. Notes, labeled photos, and saved receipts let the facts speak clearly when the days start to blur together.
When Professional Documentation Helps
Some losses are straightforward. A small leak with limited visible damage may only require careful photos and a repair invoice. Larger losses, roof damage, flooding, contaminated water, multiple affected rooms, or commercial interruptions need a more detailed response.
A qualified restoration team can assess moisture that is not visible, document affected materials, stabilize the property, and explain the work needed to return it to a safe condition. GEM Disaster Recovery Corp helps El Paso property owners move from emergency mitigation through restoration and reconstruction, with clear documentation that supports insurance coordination.
After the storm, your documentation is more than paperwork. It is a record of what your property endured and the first practical step toward putting your home or business back in order.