Fire Restoration Timeline After a House Fire
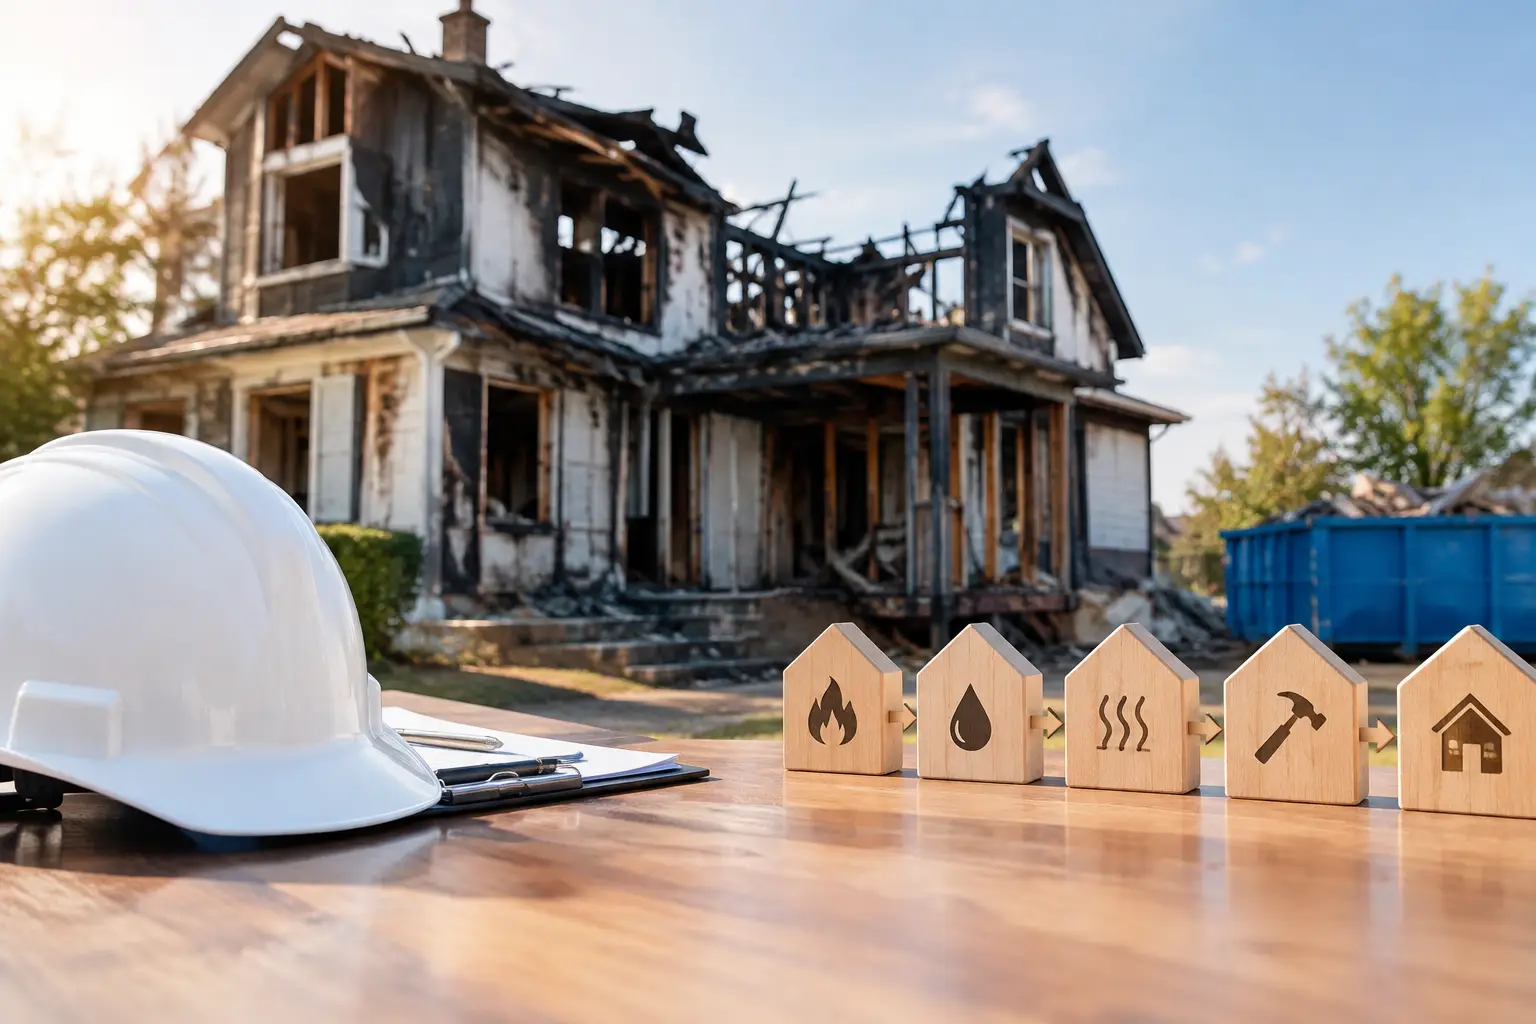
After the fire trucks leave, the damage is rarely limited to what burned. Smoke can travel through closed doors, soot can settle in HVAC systems, and the water used to put out the fire can begin damaging floors, walls, and belongings within hours. A clear fire restoration timeline helps homeowners, property managers, and business owners understand what comes next and why professional action should begin quickly.
Every property loss is different. A small kitchen fire may be cleaned and repaired in a matter of weeks, while a major structural fire can require several months of restoration and reconstruction. The goal is the same in every case: stabilize the property, protect what can be saved, remove hazards, and rebuild with care.
The First 24 Hours: Secure and Stabilize the Property
The first day after a fire is focused on safety and preventing additional damage. Do not re-enter the property until the fire department or another qualified authority says it is safe. Even when flames are out, weakened structural materials, exposed electrical components, contaminated debris, and lingering smoke can make a building unsafe.
A restoration team typically begins by documenting visible damage and securing the structure. This can include emergency board-up for broken windows and doors, roof tarping where fire has opened the roofline, and temporary fencing if the property is exposed. These measures help prevent weather intrusion, theft, vandalism, and unauthorized entry while the next steps are planned.
Water removal is also urgent. Fire suppression often leaves standing water, soaked insulation, wet drywall, and saturated flooring behind. If moisture is not addressed promptly, it can lead to additional material damage and create conditions for mold growth. Restoration professionals use extraction, air movement, and dehumidification equipment to begin drying affected areas.
Property owners should notify their insurance carrier as soon as possible and avoid throwing away damaged items before they have been documented. Photos, videos, receipts, and a detailed list of affected belongings can help support the claim. If an item is unsafe, contaminated, or beyond saving, a restoration professional can document its condition before disposal.
Days 1 Through 3: Assess Damage and Build the Restoration Plan
Once the property is stable, the next stage is a detailed inspection. Fire damage is not always obvious from a quick walkthrough. Smoke may have entered wall cavities, attic spaces, cabinets, ductwork, and neighboring rooms. Different kinds of soot also require different cleaning methods. Dry soot from a fast-burning fire behaves differently than oily residue from burned plastics, appliances, or cooking materials.
During this phase, technicians evaluate the structure, contents, water damage, odor conditions, and potential safety concerns. They may use moisture meters, thermal imaging, and air-quality-related assessments to identify hidden issues. The findings shape a written scope of work that outlines what needs to be cleaned, removed, repaired, or rebuilt.
This is also when insurance coordination becomes especially valuable. The adjuster, property owner, and restoration company may need to review estimates, photos, and documentation together. Approval timing can affect the overall schedule, particularly when major demolition or reconstruction is needed. Clear documentation helps keep the project moving and reduces uncertainty for everyone involved.
Days 3 Through 10: Remove Unsalvageable Materials and Clean What Can Be Saved
After the assessment, restoration work moves into cleanup and removal. Damaged drywall, insulation, carpet, cabinetry, flooring, and other materials may need to be removed if they cannot be safely cleaned or structurally restored. This is controlled demolition, not simply tearing out damaged material. Technicians work carefully to contain soot and debris so contamination does not spread to unaffected areas.
Salvageable surfaces and belongings are cleaned using methods suited to their materials and the type of smoke residue present. Walls and ceilings may require specialized dry cleaning, wet cleaning, or sealing. Furniture, clothing, documents, electronics, and personal belongings may need off-site contents cleaning or restoration.
Odor removal happens alongside cleaning, not after it. Smoke odor can remain even when a room looks clean because odor-causing particles settle into porous materials and hidden spaces. Professional deodorization may involve HEPA air filtration, thermal fogging, hydroxyl treatment, or other methods selected for the property and source of the odor. Simply covering the smell with fragrance does not solve the problem.
Weeks 2 Through 4: Drying, Detailed Restoration, and Repair Decisions
The timeline begins to vary more widely at this point. If the fire was contained and structural damage was limited, many cleaning and repair tasks may be completed within a few weeks. If framing, electrical systems, plumbing, roofing, or load-bearing components were damaged, the project will require a more extensive reconstruction plan.
Before rebuilding begins, the property should be dry, clean, and cleared of affected materials. This creates a sound foundation for repairs and helps prevent hidden odor, moisture, or contamination problems from being sealed behind new finishes.
Repairs may include replacing drywall and insulation, restoring electrical wiring, installing new flooring, repairing cabinetry, repainting, and addressing roof or exterior damage. For businesses, the plan may also account for equipment, inventory, tenant spaces, access requirements, and the need to resume operations as safely as possible.
A dependable restoration contractor will explain what is happening, what decisions are needed from the property owner, and what factors could change the schedule. Material availability, permit requirements, insurance approvals, and the discovery of concealed damage can all affect timing. Honest communication matters more than promising an unrealistically fast completion date.
Weeks 4 and Beyond: Reconstruction and Final Quality Checks
Major fire losses can take several months to fully rebuild. Reconstruction may involve permits, inspections, framing, roofing, mechanical repairs, drywall, paint, flooring, fixtures, and final finishing work. The sequence matters because each trade depends on the work completed before it.
For homeowners, this can feel like the longest part of the process because the property may finally look like a construction site rather than an emergency scene. Yet this phase is what returns the home to a safe, functional condition. For commercial property owners, careful scheduling can help prioritize essential areas and reduce disruption where possible.
Before the project is considered complete, the restoration team should conduct a final walkthrough. This is the time to review completed work, confirm that cleaning and repairs meet the agreed scope, and identify any remaining concerns. A quality-focused team does not treat the job as finished simply because construction is done. The property should be ready for the people who rely on it.
What Can Change a Fire Restoration Timeline?
The size of the fire is only one part of the equation. A fire restoration timeline can be shorter or longer depending on several practical factors:
- The extent of structural damage and whether the building remains safe to occupy.
- The amount of water used during firefighting and how quickly drying begins.
- The type of materials burned, which affects soot cleanup and odor removal.
- Insurance documentation, adjuster review, permits, and material availability.
- Whether contents such as furniture, electronics, documents, or inventory require specialized restoration.
A small fire with widespread smoke damage can still require extensive cleaning. On the other hand, a larger but contained fire may have a more straightforward repair path once the structure is stabilized. The right schedule is based on a thorough assessment, not a guess made on the first day.
How to Protect Your Property While Restoration Is Underway
Keep a record of conversations with your insurer, adjuster, and restoration provider. Save photos, estimates, invoices, and claim information in one place. If you need to remove personal belongings, ask which items are safe to take and which should remain for documentation or specialized cleaning.
Avoid running the HVAC system until it has been evaluated. Smoke particles can move through ductwork and spread contamination to areas that were not directly affected by the fire. Do not attempt to wash soot from walls with household cleaners, either. Improper cleaning can smear residue, push it deeper into surfaces, or cause permanent staining.
For El Paso property owners, GEM Disaster Recovery Corp can coordinate emergency stabilization, smoke and fire cleanup, water mitigation, contents care, and reconstruction through one experienced local team. That continuity can make an overwhelming process easier to manage.
A fire changes a property quickly, but recovery does not have to be confusing. The right first call, careful documentation, and a restoration plan built around your actual damage can help move your home or business from emergency response toward a safe return.